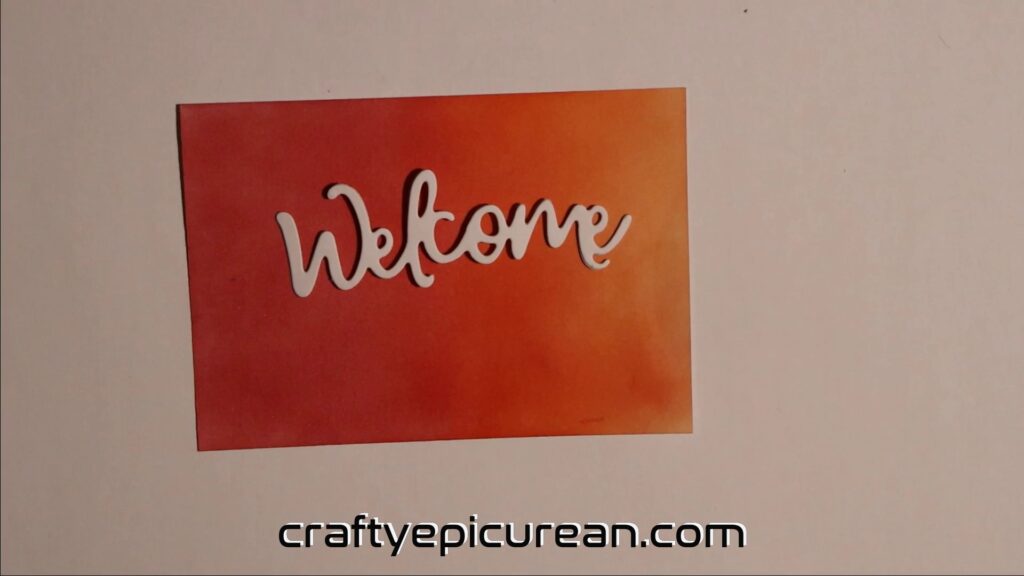
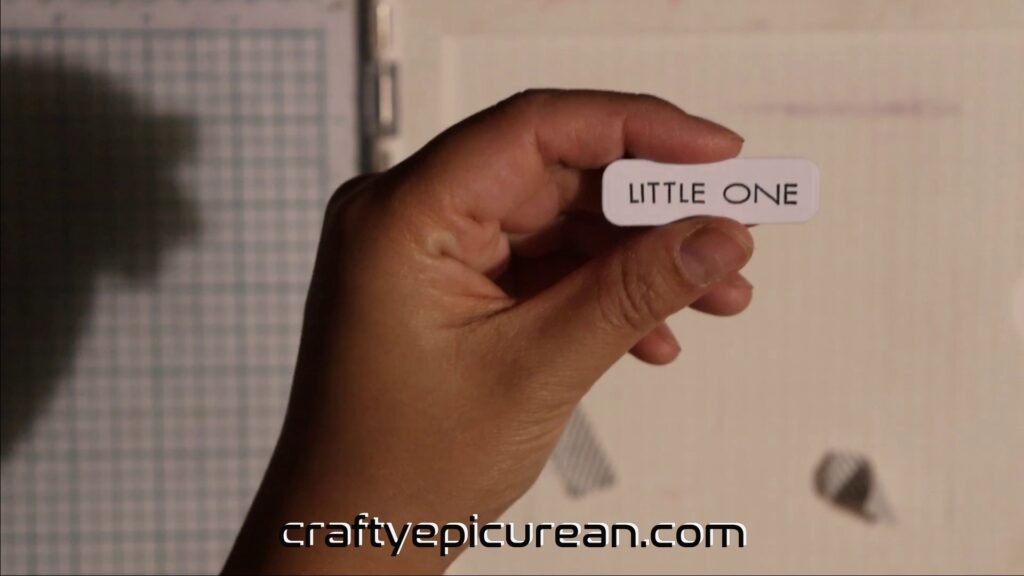
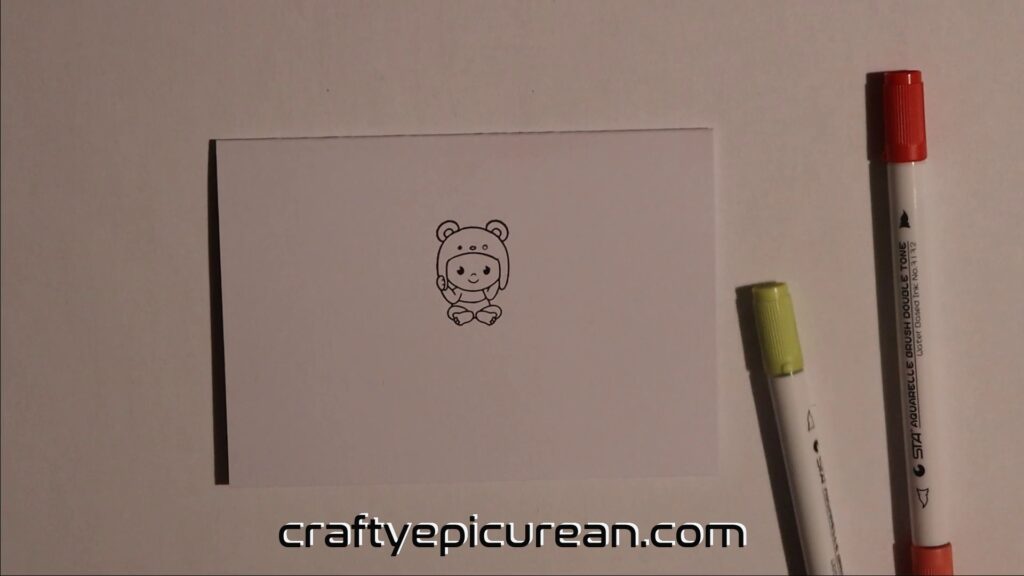
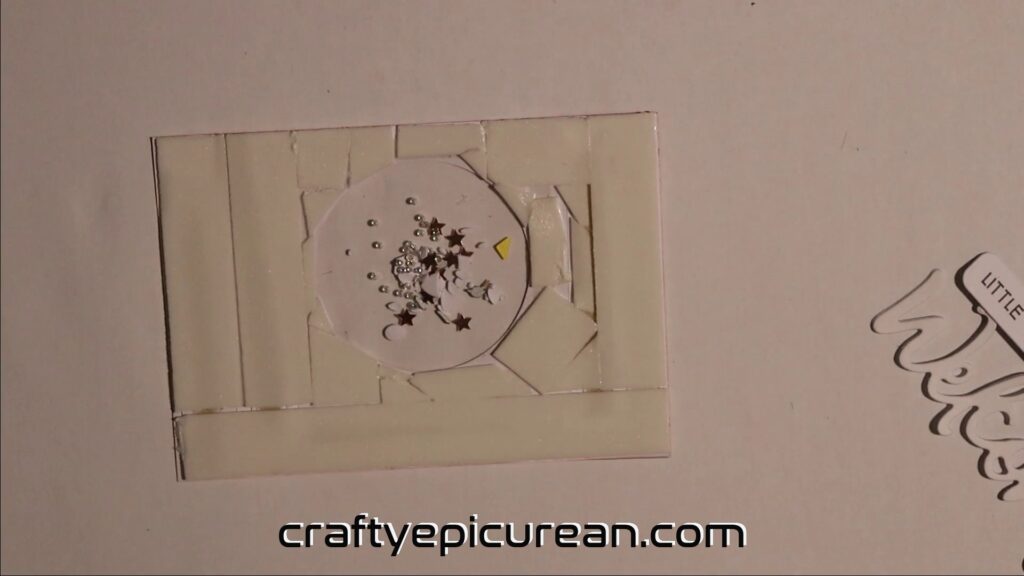
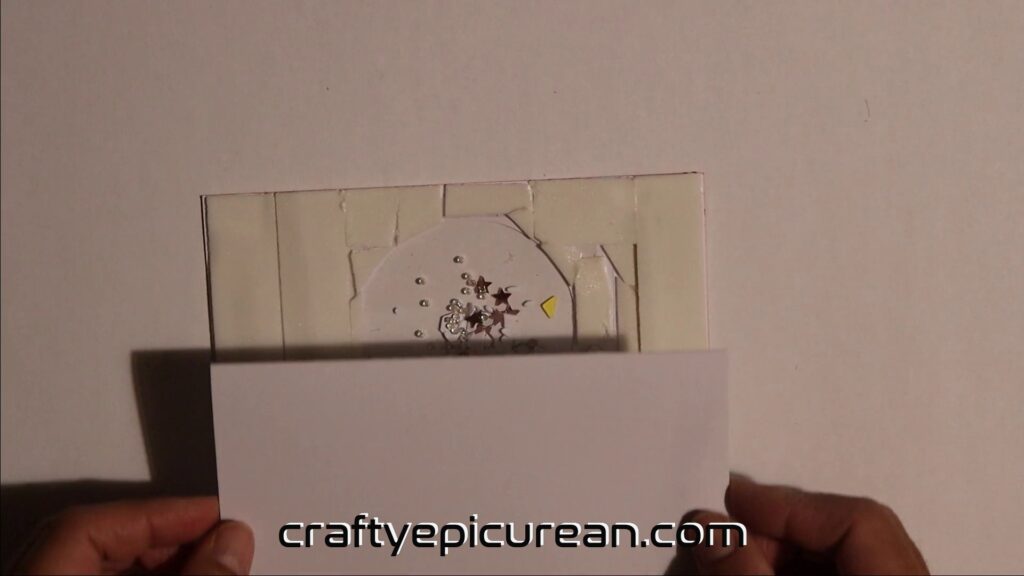
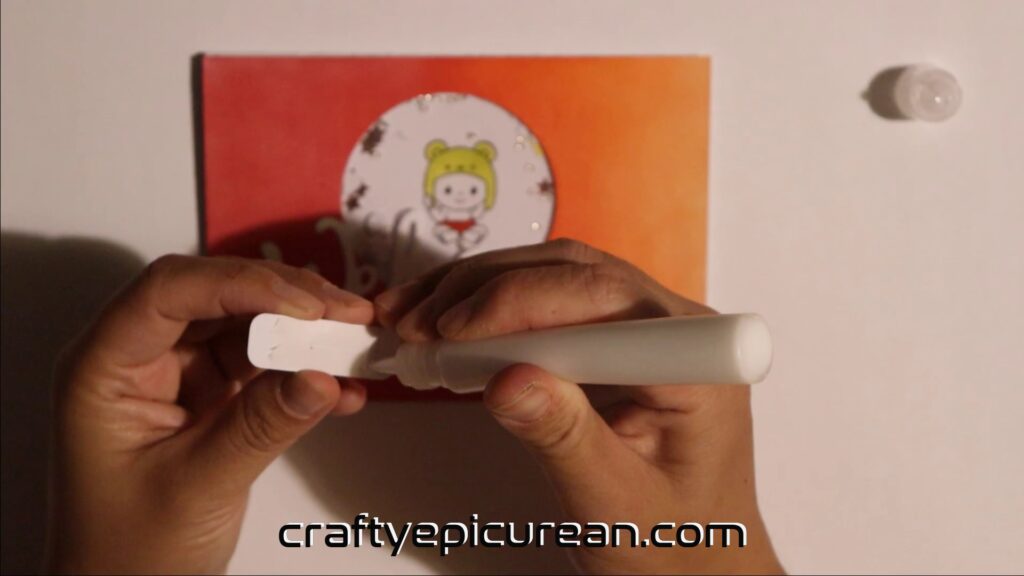
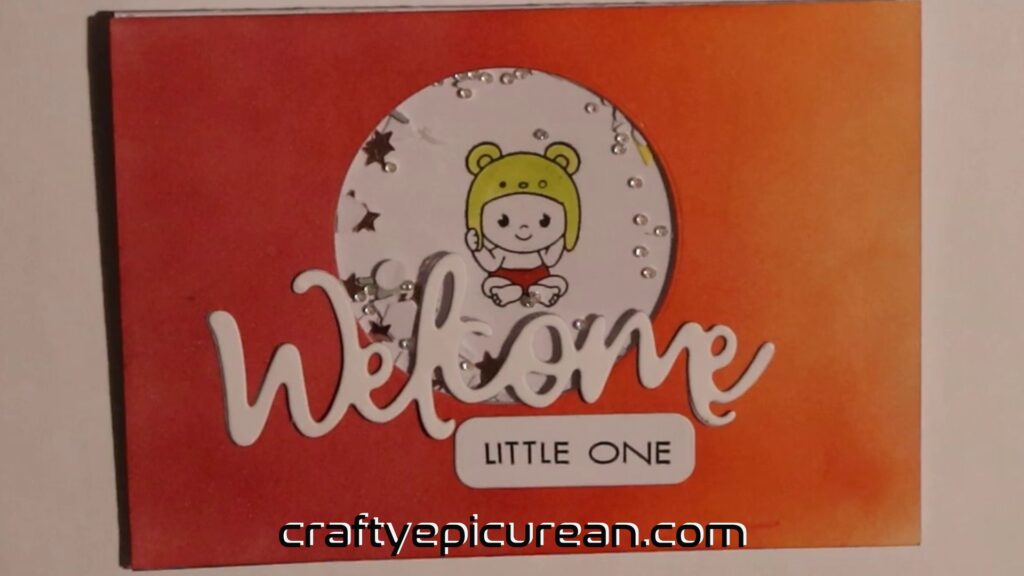
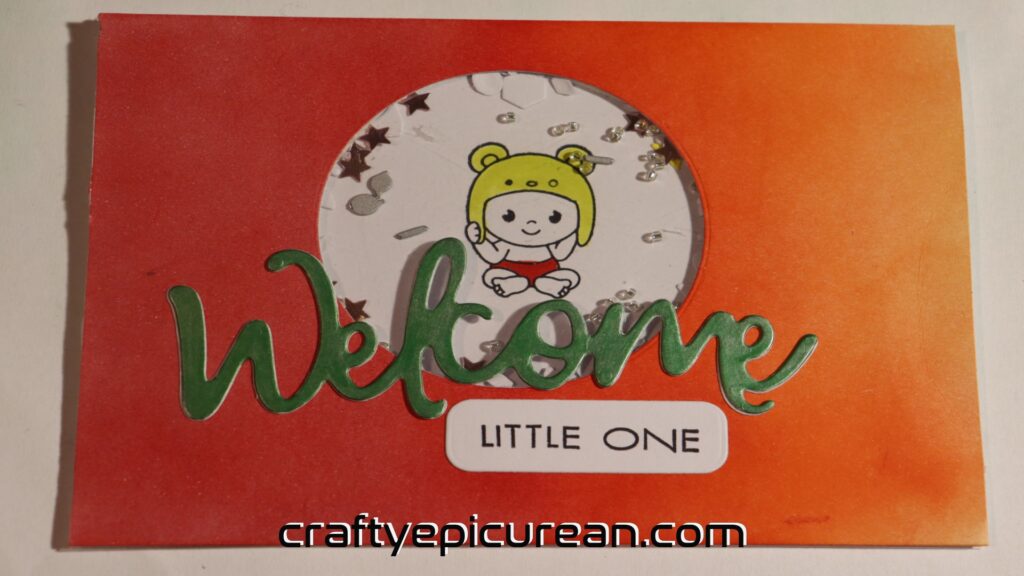
Welcome Little One for Baby Shower Card

This is a shaker card I made because I wanted to make a cute themed card for a baby shower card. I have had a slight obsession with making blended backgrounds for a while so was trying to utilise a sunset background as well as a baby themed stamp set I acquired off Aliexpress. Welcome Little One became the sentiment as I wanted to use up a large format diecut as well as try out a set of new sentiment strip diecuts. Now, I have called this a baby shower card because i made it with the intention of giving it away at a baby shower however, it is also perfect to gift once the new arrival has made it into the real world or even just the first time you meet a new little baby. The colours chosen for the baby are fairly neutral so this card can be given to either gender. Enjoy and let me know if you have a go at making a similar style card. For the process video click on the link below:
Tools and Products Used
As I mentioned above I was trying to use up things in my crafty stash and try out new stamp sets or tools I’d recently acquired so please bear with me as I list through the multiple items I used to make this baby shower card.
STAMP SETS:
Honey Bee Stamps – Hooray stamp set
Aliexpress – Baby themed stamp set
DIE CUTS:
Aliexpress – circle die cut set
Aliexpress – Rounded sentiment strips set
Aliexpress – Large Welcome Die cut
TOOLS:
We R Memory Keepers Precision Press
Sizzix Big Shot die cutting machine
Aliexpress – Blending Brushes
INKS:
Ranger Archival Ink – Jet Black
Ranger Distress Ink – Scattered Straw
Ranger Distress Ink – Ripe Persimmon
Ranger Archival Ink – Vermillion
OTHER:
Bostick – Craft glue
Double sided tape acid free
3M foam adhesive
200 GSM White card stock
Process to Make Welcome Little One Baby Shower Card
To make this baby card I took a Welcome die cut and a notecard with sunset blended background already applied to it. This was leftover in my crafty stash and I was in the mood to make baby cards.
I then used a small sentiment strip die cut to and white card stock to make a small sentiment strip. Then stamped the words LITTLE ONE from the Honey Bee Stamps Hooray stamp set onto the sentiment strip using Ranger Archival ink in Jet Black and my We R Memory Keepers Precision Press Stamping Platform.
Front window for the shaker window is made by die cutting an approximately 2 inch diameter circle from the front note card or blended sunset background.
Knowing that I wanted to stamp an image in the shaker window but behind the shaker elements, I decided to make a template to help me position the stamped image onto the card base whilst making sure it appears inside the shaker window. That step I will show later on in this blog post.
But basically, take a spare front note card, line it up with the blended background we just cut the shaker window from, mark the circle position with a pencil and line up the circle die cut with the pencil marks then die cut a circle from the white card stock for the template.
For the window I used some acetate I acquired from some leftover packaging from a friend who received a toy that had this massive piece of acetate stuck inside the packaging to provide a window to see the toy. Anyway, I cut a piece of it to just fit around my circle window cutout.
Using double sided tape and craft glue, I covered the circle die cut to make a see through window for the shaker window. I then realised that the thickness of the acetate meant the card would be a bit wonky if I carried on. Thus, I used some scrap bits of acetate to level off the thickness of the front note card. Again, I used double sided tape to adhere these pieces down.
Foam tape was placed all around the shaker window to provide a bit of dimension and a gap or void or space for the shaker elements to move around in. Set that aside for later.
Using my We R Memory Keepers precision press, I placed a 200 GSM white card base into the stamping platform then placed the circle cut out template over the top. By lining up, the card base with the template, I was able to position the stamp image inside the circle cut out of the template to ensure that the image would appear inside the shaker window behind the shaker elements.
I decided a bit of colour was in order for the stamped image. To fulfill this I used my STA aquarelle dual tone watercolour brushmarkers to give the image a pop of colour via block filling. I used a lime or yellow-green for the bonnet the baby is wearing in the stamped image. Then I used a bright red to colour the nappy the baby is wearing. these colours were chosen to keep the gender neutral as it was designed or intended to be a bay shower card whereby the gender may not be known or revealed yet.
After that I removed all the release paper from the foam tape and filled the shake window with shaker elements. This time I am using excess embellishments, off cuts from intricate diecuts and glass beads for my shaker elements.
To assemble this card I attach the card base to the front note card by lining up each corner of either piece with each other. Turn it over, and I find that the stamped image is inside the skaker window behind the shaker elements, albeit a little off centre! Also, I realised i should have used two layers of foam tape as some of the shaker elements were getting stuck, in particular, the glass beads. The flat embellishments and die cut off cuts moved around fine but the glass beads I used were just a little too big.
I used my glue pen (for which a review can be found here) to adhere down the large format welcome die cut sentiment to the front of the card.
I used tape and glue to stick down the sentiment strip. the sentiment strip is placed under the large welcome die cut but off centered to the right.
Below is a photo of how the card looks all assembled. I could have ended the card process there but I wanted the welcome die cut to stand out a little more…
Thus, for the final card I carefully coloured the welcome die cut with a green STA metallic fineliner brushmarker, which gave it a bit of sparkle and think look stunning.
Happy crafting!
Mel Crafting.