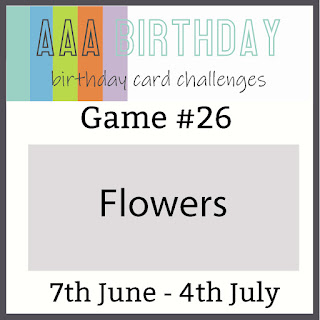
Happy Birthday Wishes Flowers Card

This birthday card idea was inspired by a AAA Birthday birthday card challenge whereby the theme for the month was flowers. Combined with my current obsession with blending on my homemade cards and trying to use as much of my crafty stash as possible. As I wanted specific coloured card to go with the dye inks I have to blend with I ended up making diy card stock colours too by utilising my alcohol markers. I have a few cards in mind using my homemade card stock as well as the emboss resist technique and flowers frame stamp that I used on this card, so check back into my blog in the near future for more information on those.
A link to the AAA Birthday card challenge I referred to above is below:
If you would like to view a video describing how I made this card, check out the link to my card video below:
Unfortunately, I did not record a process video whilst I was making this particular card but I will do a process video of the techniques used in a future video featuring similar card(s).

Great idea to custom colour your cardstock. Quite a vision in all the red. Thanks for playing at AAA Birthday, hope to see you join in with future challenges too. Stay safe and keep crafting !
Thank you for visiting my blog. Loved how this card turned out. Thanks to the AAA Birthday theme for the initial inspiration.
Whoa, this is stunning! Gold heat embossing always looks great with red, stunning look! Thanks so much for playing at AAA Birthday!
Thank you for visiting my blog, glad you liked the card, I love it too.