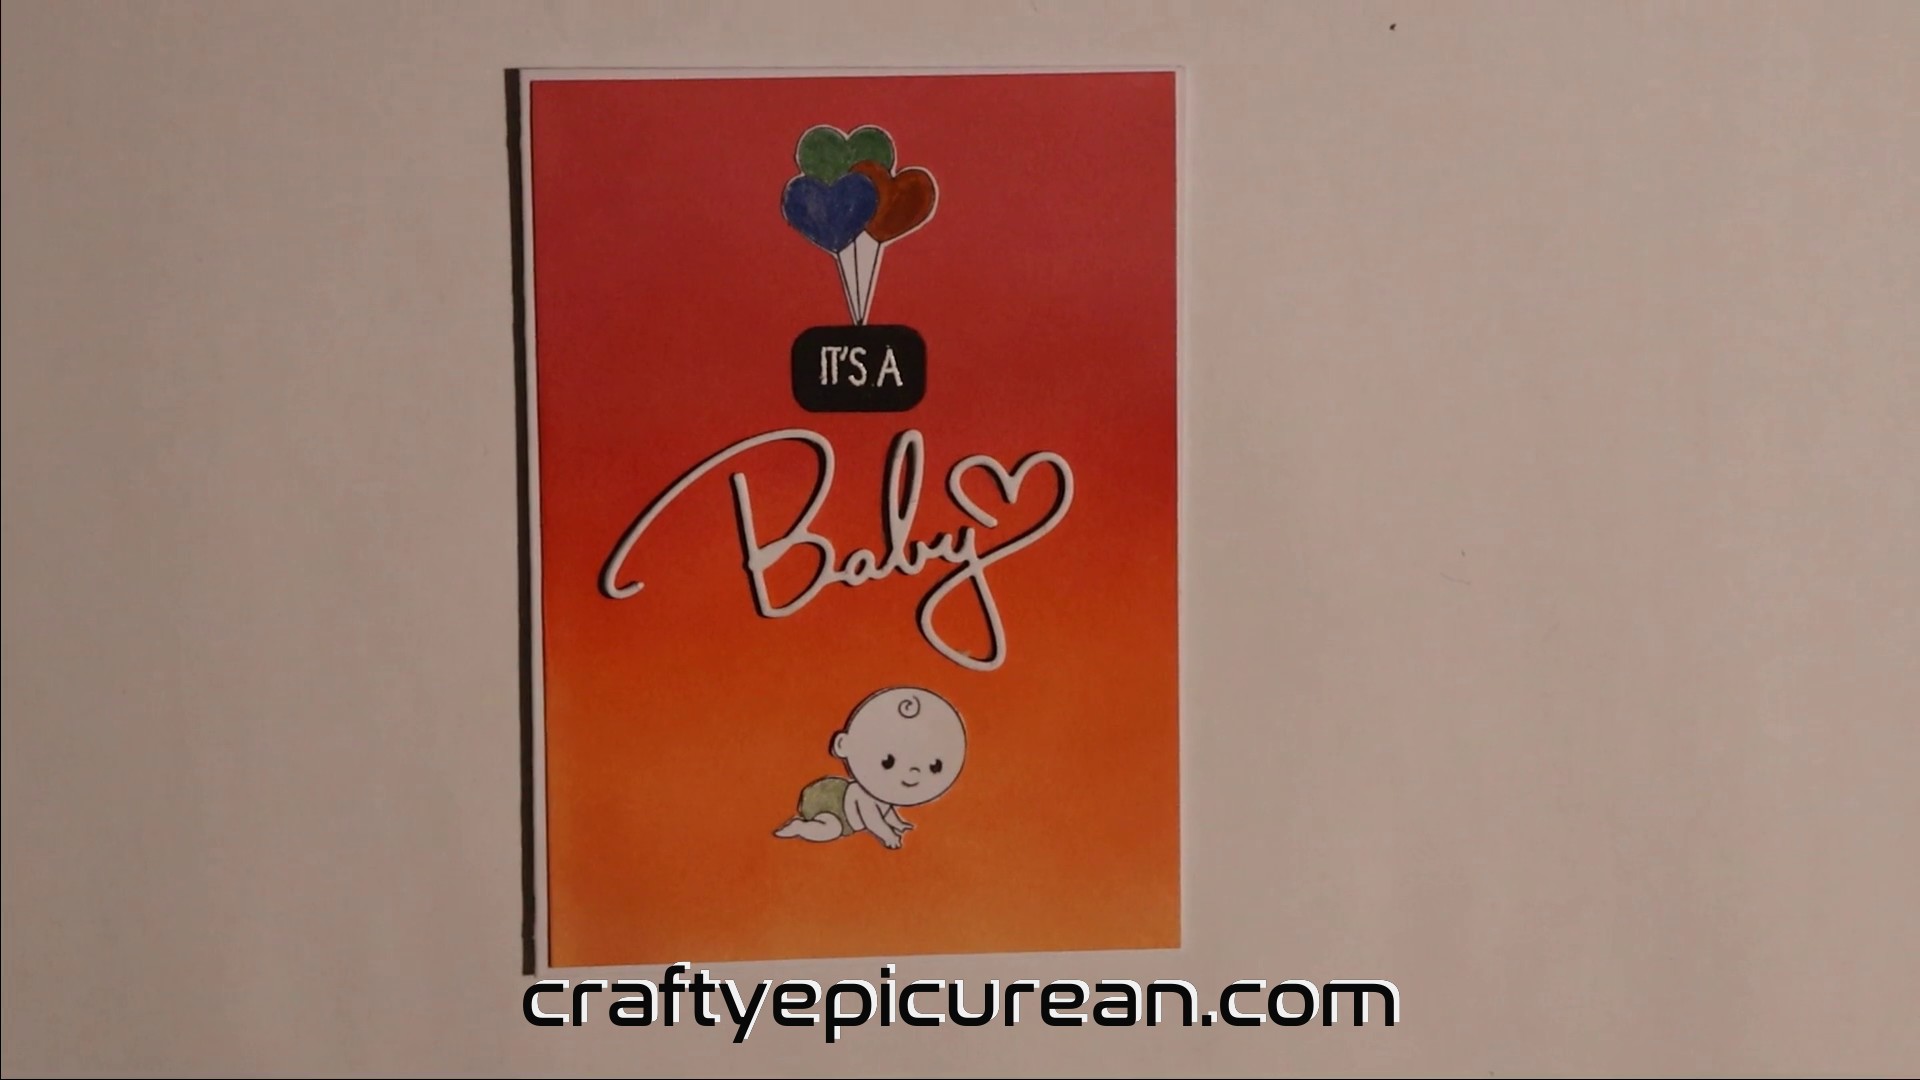
This is a baby card I made because I wanted to use stamp sets and die cuts designed for baby cards or baby shower cards. I had a moment a while back where I was testing out some blending brushes I bought off Aliexpress so I has a sunset looking blended background for a card front to use up. The blended background I ended up using for this card was made using two Distress inks, namely, Scattered Straw and Ripe Persimmon as well as Ranger archival ink in Vermillion. These dye inks worked well together and blended into each other nicely to give a great red to yellow sunset look.
Other tools and resources I used included two stamp sets also bought off Aliexpress, both of which were baby themed; one had a set of baby images the other baby themed sentiments. I also wanted to use up some die cut “baby” sentiments I had in my crafty stash and I had a new sentiment die cut set that I wanted to test out.
For a process video of how I made this card, click the link below:
First step in making this baby shower card was to stamp the “It’s a” sentiment. I did this onto black card stock using Emboss clear embossing ink, making sure to use an anti-static powder tool beforehand to ensure embossing powder only stuck to where the sentiment is stamped. White embossing powder from Ranger was used to heat emboss the “It’s a” sentiment.
Then a rounded corner sentiment strip diecut was used to cut around the sentiment. This die cut was part of a set but all of them were much bigger that the sentiment it self so I die cut it twice using the same diecut to get a smaller sentiment strip.
Next up I decided to stamp the heart shaped balloon and baby images using Range Archival ink in jet black. This is a water proof ink that I stamped onto 200 GSM white card stock a couple of times to ensure a good image. With these image stamps and the sentiment stamp I used a stamping platform to stamp them so any mistakes or slight miss stamping could be easily re stamped over and fixed.
While the image stamps were drying I decided to grab three of my “Baby” die cut sentiments from my crafty stash and glue them together. I feel this die cut is purpose made for baby cards or for baby shower cards and the cute love heart at the end of the sentiment makes it very adorable. Anyway, I glue together two white die cuts and a black die cut of this sentiment using my glue pen (I did a review on these pens, just click here for the link). This gave me a three layered stack diecut where the black gives extra dimension and bit of a shadow look.
Grabbing the stamped images again, I also grab my STA metallic brush markers and quickly added some color to the baby’s nappy and the balloons. For a video review of these metallic brush markers click here. I quite like how fine these brush markers are as it makes them really easy to color fine detail with.
After coloring those images I fussy cut them out of the card stock using my craft scissors.
Now to assemble this baby shower card. Firstly I arranged all the elements on top of the sunset themed blended background then adhered them down using double tape and my glue pen where I could not manage to get double tape into. To help hold the elements down in place while they dried and adhered to the front notecard, I placed an acrylic block on top to act a s a weight.
Then I decided to add this front notecard to a white card base of standard A6 card size. As the card front was a little oversized for the card base, I trimmed it using my guillotine. I adhered the front notecard to the card base using double tape and glue, making sure to try and leave an even white border around the outside of the front notecard. Unfortunately, I trimmed a bit much off the bottom of the front notecard so had to trim a bit off the bottom of the whole card. This meant the final card ended up slightly smaller than a standard A6 card however, this did not bother me as the resulting baby shower card looked awesome in my opinion!
So…that’s how I made this baby shower card.
Happy crafting!
Mel Crafting
