Gnomes Birthday Card

Gnomes Birthday Card

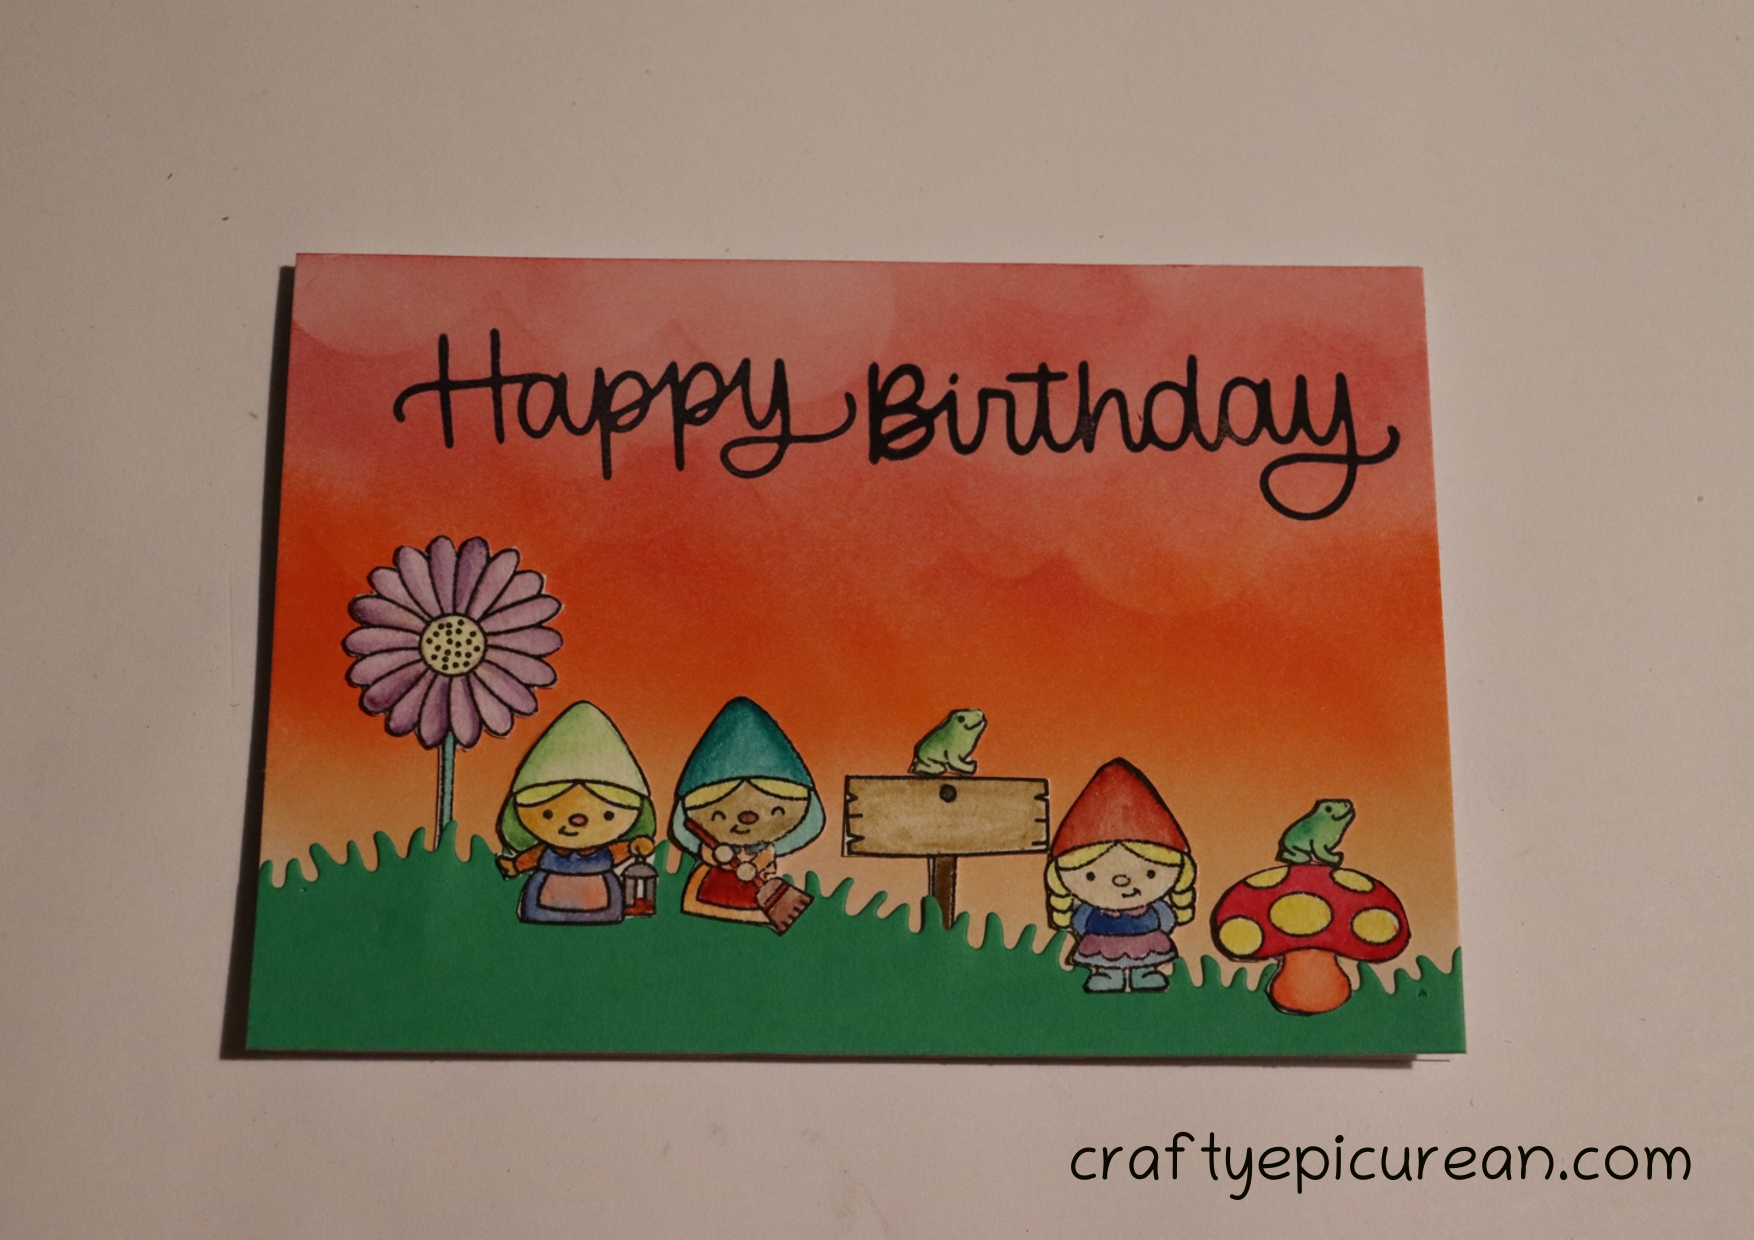
The inspiration for this card was firstly to use up a bunch of gnome themed die cuts I found in my crafty stash. These die cuts were all already cut out and colored (I was testing out a new stamp set and some watercolors at the time and just stashed them away only to be recently found, so, I thought I would use them up.) I also wanted to keep up my participation efforts in the AAA Birthday Card Challenges and I thought I would try to create a design to satisfy Game #21 – A Stencil Background. Click here or below to find the card challenge I am yapping on about!

Below is a card process video on how I made a similar card using the same techniques and similar crafty supplies.

https://youtu.be/EVi95JJ259M


To make this card eligible for the card challenge, I had to create a background using a stencil. Straight up, I hit a bit of a snag….there are no stencils in my crafty stash! To solve this I decided to create one using my die cuts and die cutting machine. I decided to use a cloud shaped die cut on some card stock to create a cloud like stencil. Hopefully, the AAA birthday card judges will give this a pass as a stencil, if not, I hope they enjoyed my attempt anyway.

The same die cut set had a few grass-like cut outs so I thought I would cut one of those out too and use it on the card too.
Die Cuts and 'Stencil'

Using Ranger Archival Ink in Vermillion, Ranger Distress Ink in both Ripe Persimmon and Scattered Straw, I created a blended background with a layered cloud effect using my cloud ‘stencil.’

I created this background on a standard A6 sized note card made from white card stock.

Tools Used For Blending

Next step was to arrange all the elements of the card onto the background to make sure I liked the design.

As I wanted to do a little bit of layering or overlapping with the die cuts, I decided to use low tack masking tape to tape the grass die cut to the notecard. This made it easier to move the smaller die cuts around without having to reposition the grass each time.

Card Design Layout

Once I decided on the layout, I stamped the ‘happy birthday’ sentiment from the stamp set shown in the stamp set below. Here I used an acrylic block and Ranger Archival Ink in Jet Black. Due to the size of my acrylic block I stamped ‘happy’ and ‘birthday’ separately. Unfortunately, I am not fully happy with how the words of the sentiment line up with another and I think I should have used a stamping platform instead to get them in line a bit better but overall the card still looks great I reckon!

Stamp Set and Ink Used For Sentiment

I used a combination of double sided tape (where i could get it to fit) and liquid glue to adhere down the die cuts that would be layered underneath the grass diecut before using double sided tape to adhere down the grass die cut itself.

Placing Overlapped Elements First

Again I used a combination of double sided tape (where it would fit) and liquid glue on the back of the rest of the die cuts to adhere them to the card. Then I placed my acrylic block on top of the die cuts to ensure the glue and tape adhered to the front note card.

Weight to Hold Card Elements in Place

And that is how i made this Gnomes Birthday Card.

Happy crafting!

Mel Crafting.

Finished Gnomes Birthday Card


Leave a Reply

Your email address will not be published.